Create Development PC
03 Jan 2019This is for a local PC running Ubuntu Desktop 18.04 LTS.
Install Dependencies
Update the PC:
sudo apt update
sudo apt upgrade
Install prerequisites for development environment:
sudo apt install vim curl git zip unzip
Configure Git:
git config --global user.name "Your Name"
git config --global user.email your.email@example.com
git config --global push.default simple
Install MariaDB
Install packages:
sudo apt install mariadb-server
Secure MariaDB:
sudo mysql_secure_installation
- There is no current password for root, so press Enter
- Enter n to set root password, since we will use unix socket authentication for root
- Enter y to remove anonymous users
- Enter y to disallow root login remotely
- Enter y to remove test database and access to it
- Enter y to reload privilege tables now
Install PHP
Install PHP packages:
sudo apt install php-fpm php-mysql php-cli php-xml php-json php-mbstring php-tokenizer php-bcmath php-zip
Install Composer
Download the PHP composer installer script from https://getcomposer.org/installer:
cd ~/Downloads
php -r "copy('https://getcomposer.org/installer', 'composer-setup.php');"
Follow the instructions on https://getcomposer.org/download to check the file hash of the download. The value of the hash will vary from version to version, so you must get the latest value from https://getcomposer.org/download.
php -r "if (hash_file('sha384', 'composer-setup.php') === '48e3236262b34d30969dca3c37281b3b4bbe3221bda826ac6a9a62d6444cdb0dcd0615698a5cbe587c3f0fe57a54d8f5') { echo 'Installer verified'; } else { echo 'Installer corrupt'; unlink('composer-setup.php'); } echo PHP_EOL;"
You should see a message, “Installer verified”.
Run the composer installer script:
php composer-setup.php
Delete the composer installer script:
php -r "unlink('composer-setup.php');"
Move composer.phar to a directory that is in your path and rename it to just composer:
sudo mv composer.phar /usr/local/bin/composer
Install Laravel
composer global require laravel/installer
Add ~/.composer/vendor/bin to your PATH:
vi ~/.profile
Add a line at the end:
PATH="$HOME/.config/composer/vendor/bin:$PATH"
Log off and log on again to make this change effective.
Create New Laravel Project
cd ~
laravel new laratest2
View the new Laravel project:
cd laratest2
php artisan serve
Open browser and visit http://127.0.0.1:8000.
Close the browser.
In the terminal, do Ctrl+c to shut down the development server.
Install Atom
Get Atom GPG Key:
cd ~/Downloads
wget -q -O- https://packagecloud.io/AtomEditor/atom/gpgkey | sudo apt-key add -
Add the Atom repository to your sources.list:
sudo add-apt-repository "deb [arch=amd64] https://packagecloud.io/AtomEditor/atom/any/ any main"
sudo apt update
Install Atom:
sudo apt install atom
Close the terminal.
Create New Local Repository
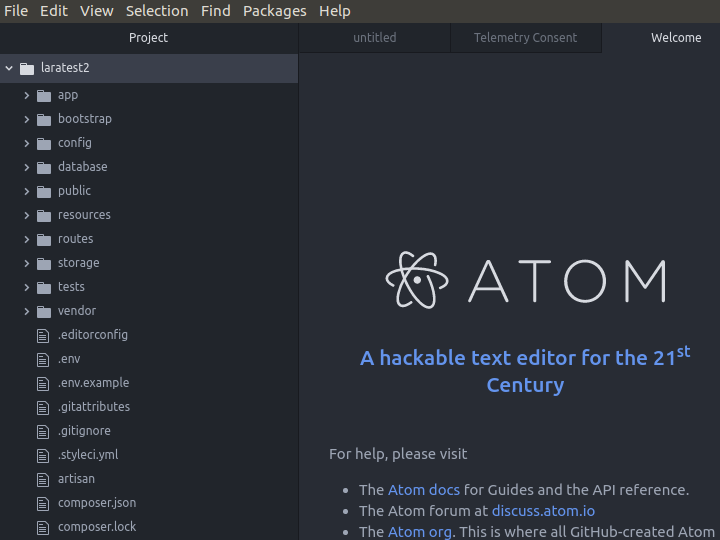
Open the Atom app.
Select Open a Project.
Open the laratest2 project.
Do Ctrl+9 top open the Git/Github panel.
Click on Create repository.
Click Init.
Click on Stage All.
Type the commit message Initial commit.
Click Create detached commit.
Create New Github Repository
Open a browser.
Create a new empty repository on Github. In this example it is named laratest2.
Note the instructions marked push an existing repository from the command line. They will read something like this:
git remote add origin https://github.com/umaint/laratest2.git
git push -u origin master
Now open a terminal (Ctrl+Alt+t).
cd ~/laratest2
git remote add origin https://github.com/umaint/laratest2.git
Push to Github
In your Atom window, you see a Github screen.
Click Login.
You are prompted to visit https://github.atom.io/login to obtain a token.
Click the button to Authorize atom.
You are given a token. It will be something like this 40-character hexadecimal string:
9b8924730123456789abcdef0123456789abcdef
Copy the token into your Atom Github panel.
Click Login.
Click Publish.
Now, in your browser, you see the laratest2 directories and files have been pushed to Github.
Add README.md and LICENSE
In your browser, on the Github page for your repository, click the Add a README button.
Click Commit new file.
For the LICENSE:
- Click Create new file and add to the repository a new file named
LICENSE. - Click Choose a license template. Make a selection, e.g., MIT License.
- Click Review and submit.
- Click Commit new file.
- Click Create pull request.
- Click Merge pull request
- Click Confirm merge
Pull README.md and LICENSE
Pull the revised repository, with its README.md and LICENSE, down to your local PC.
Click Fetch.
Click Pull.
Your local repository now has the README.md and LICENSE files, and is synchronized with your Github repository.