V2Ray Client on Ubuntu Linux Desktop
04 Jan 2019For a screencast video of this post, see https://www.youtube.com/watch?v=dR0N6ynZOqM.
Following are some screenshots of installing V2Ray as a client on an Ubuntu Linux Desktop PC.
Open a browser and visit https://github.com/v2ray/v2ray-core.
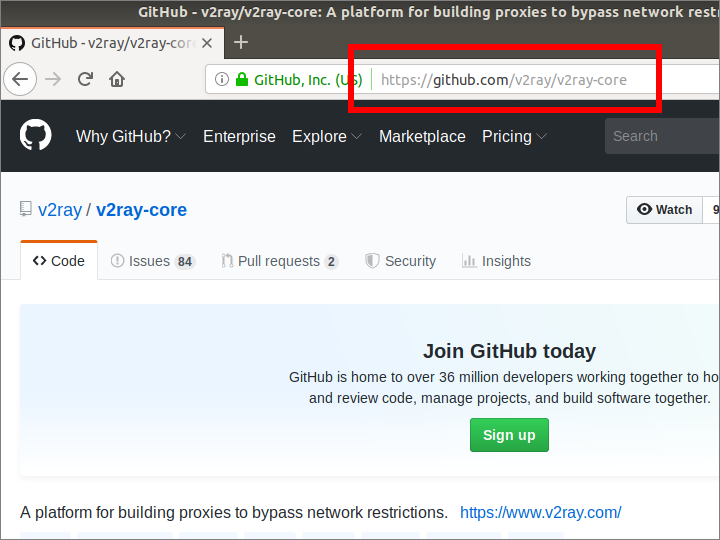
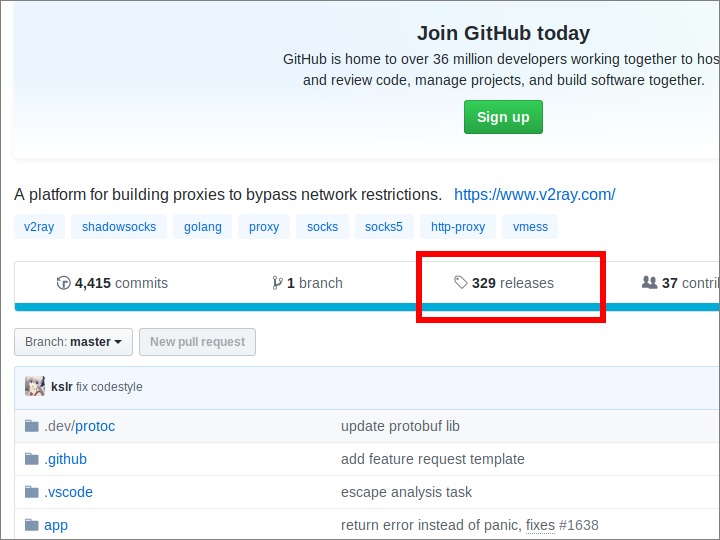
Click the releases button.
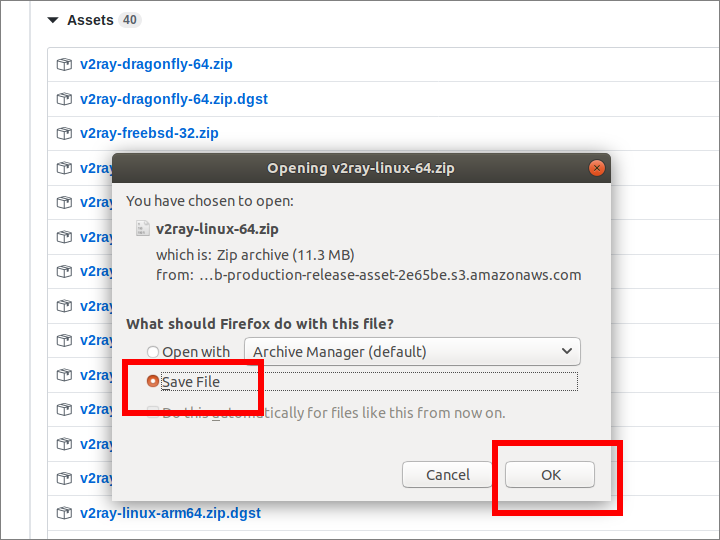
Assuming you have a 64-bit processor in your PC, look for v2ray-linux-64.zip.
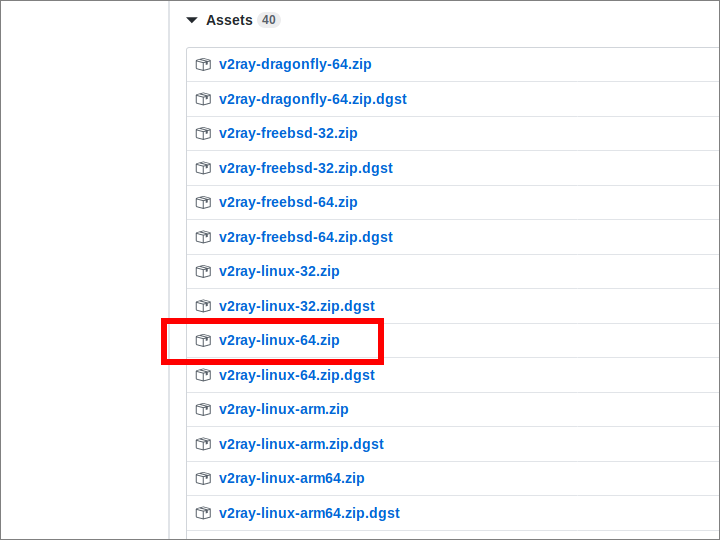
From your browser, save the file v2ray-linux-64.zip in your Downloads directory.
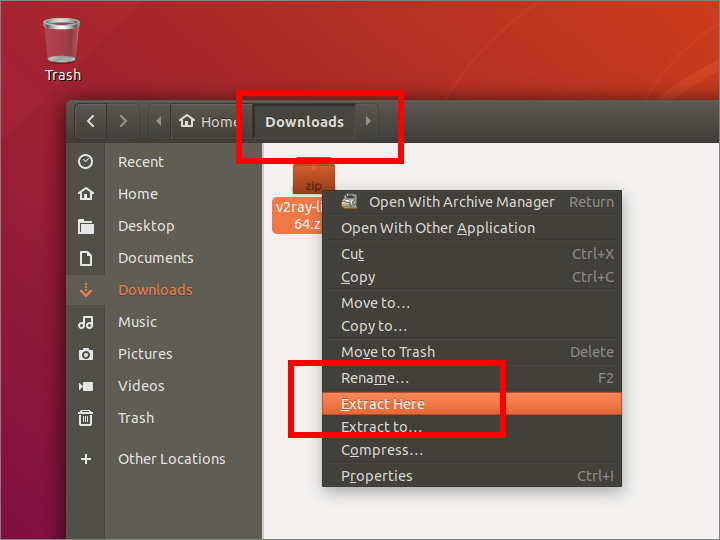
Extract the zip file.
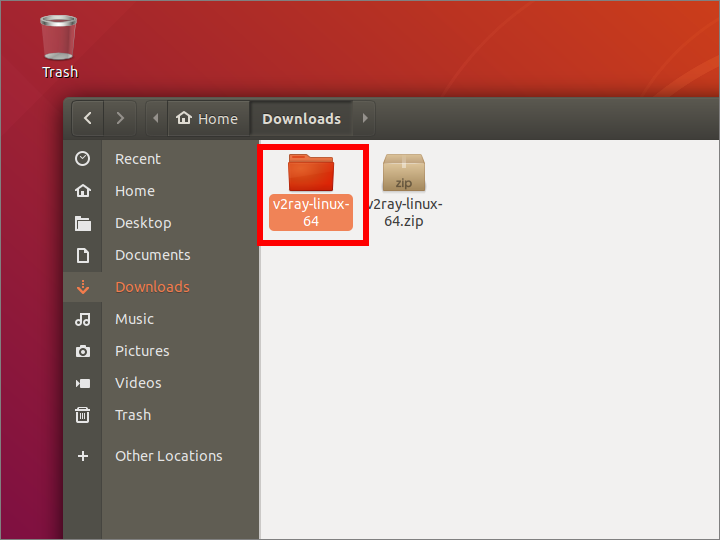
The contents of the zip file are extracted to a new directory named v2ray-linux-64.
Open a terminal and list the contents of the v2ray-linux-64 directory.
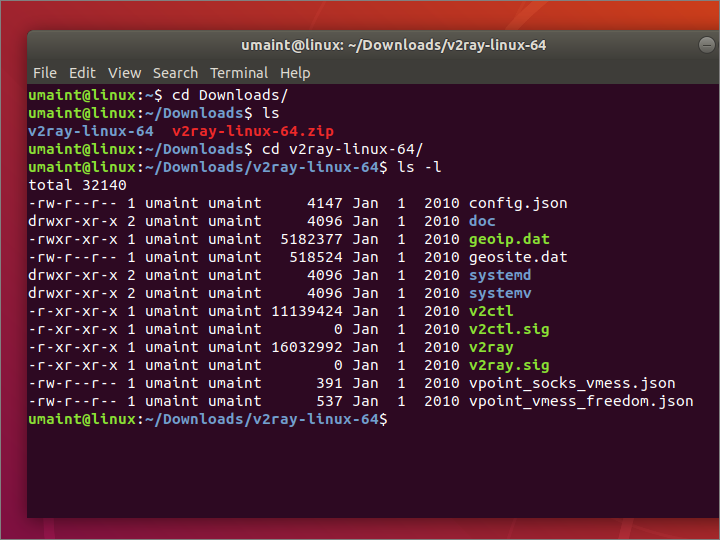
Edit the configuration file, which is named config.json.
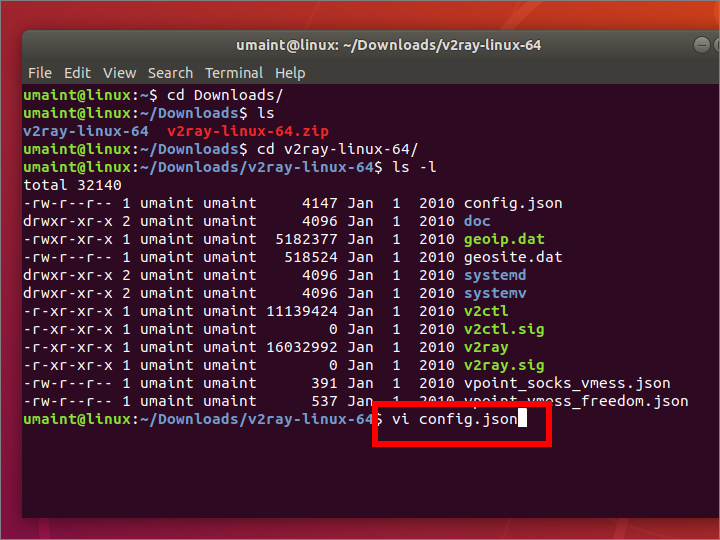
Your contents will look something like this. IP address, port, and user id must match your server.
{
  "inbounds": [{
    "port": 10808,
    "listen": "127.0.0.1",
    "protocol": "socks",
    "settings": {
      "udp": true
    }
  }],
  "outbounds": [{
    "protocol": "vmess",
    "settings": {
      "vnext": [{
        "address": "YOUR.SERVER.IP.ADDRESS",
        "port": YOURPORT,
        "users": [{ "id": "YOUR-UNIVERSALLY-UNIQUE-ID" }]
      }]
    }
  },{
    "protocol": "freedom",
    "tag": "direct",
    "settings": {}
  }],
  "routing": {
    "domainStrategy": "IPOnDemand",
    "rules": [{
      "type": "field",
      "ip": ["geoip:private"],
      "outboundTag": "direct"
    }]
  }
}
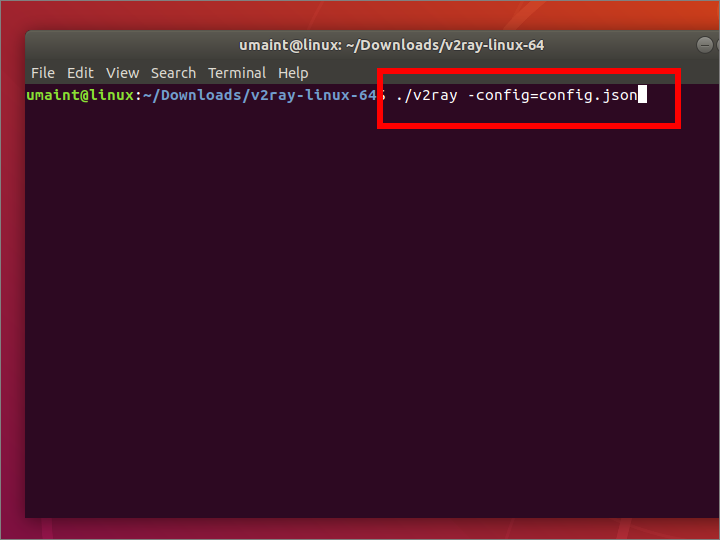
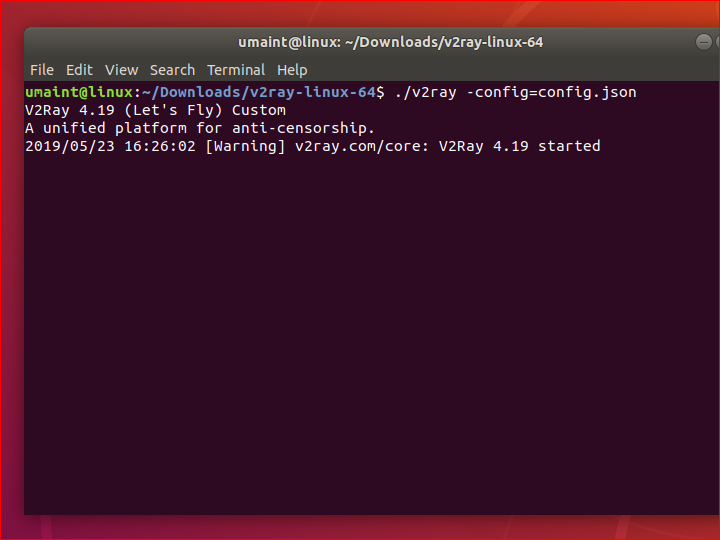
Execute the v2ray program with the config.json configuration file.
You see a message to say that V2Ray has started.
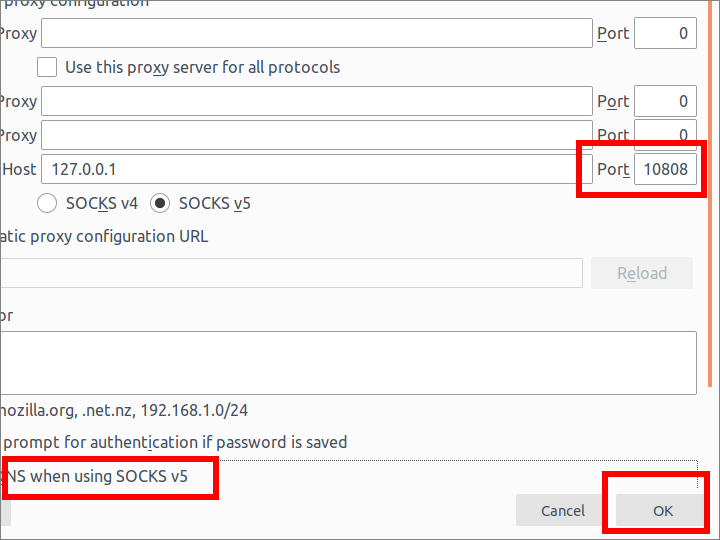
Open Firefox. Select the option for Network Settings. Choose manual proxy configuration, SOCKS Host 127.0.0.1, and SOCKS v5.
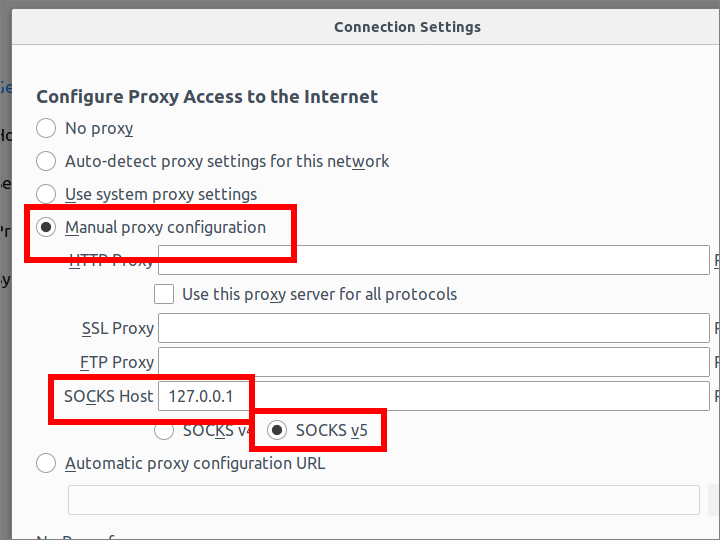
Choose port 10808 for your local port to communicate with the V2Ray client. Choose to proxy DNS when using SOCKS v5. Click OK to save these settings.
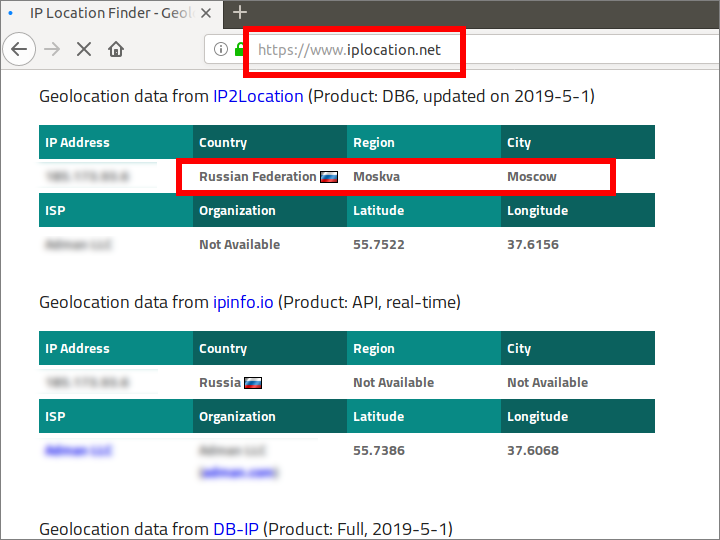
In your Firefox browser, check that your IP location now matches your server by visiting https://www.iplocation.net.
